Creating a Project
Using the SDK is the easiest method for getting started with a new project.
Simply run the init command and you'll have a FastAPI [] backend and Next.js [] frontend in seconds! No extra parameters needed.
1 | |
You'll find two new shiny directories in your project folder that will look similar to this:
1 2 3 4 5 6 7 8 9 10 11 12 13 14 15 16 17 18 19 20 21 22 | |
Backend Directory
Did you know?
We built the backend using the zentra-api package!
1 | |
Pretty cool right?! 🤓
The backend directory is home to our FastAPI [] files and is fully managed by the zentra-api package.
You can read more about it in the API First Steps tutorial.
Frontend Directory
The frontend directory contains our Next.js [] files and is unique to the SDK package.
We'll read more about this in the next chapter, but for now, we should probably finish setting up the frontend!😅
Starting The Frontend
-
Firstly, access the frontend directory:
1cd frontend -
Next, install the Node packages:
1npm install -
Test it works by running the development environment:
1npm run dev -
Navigate to http://localhost:3000 and you should see the following:
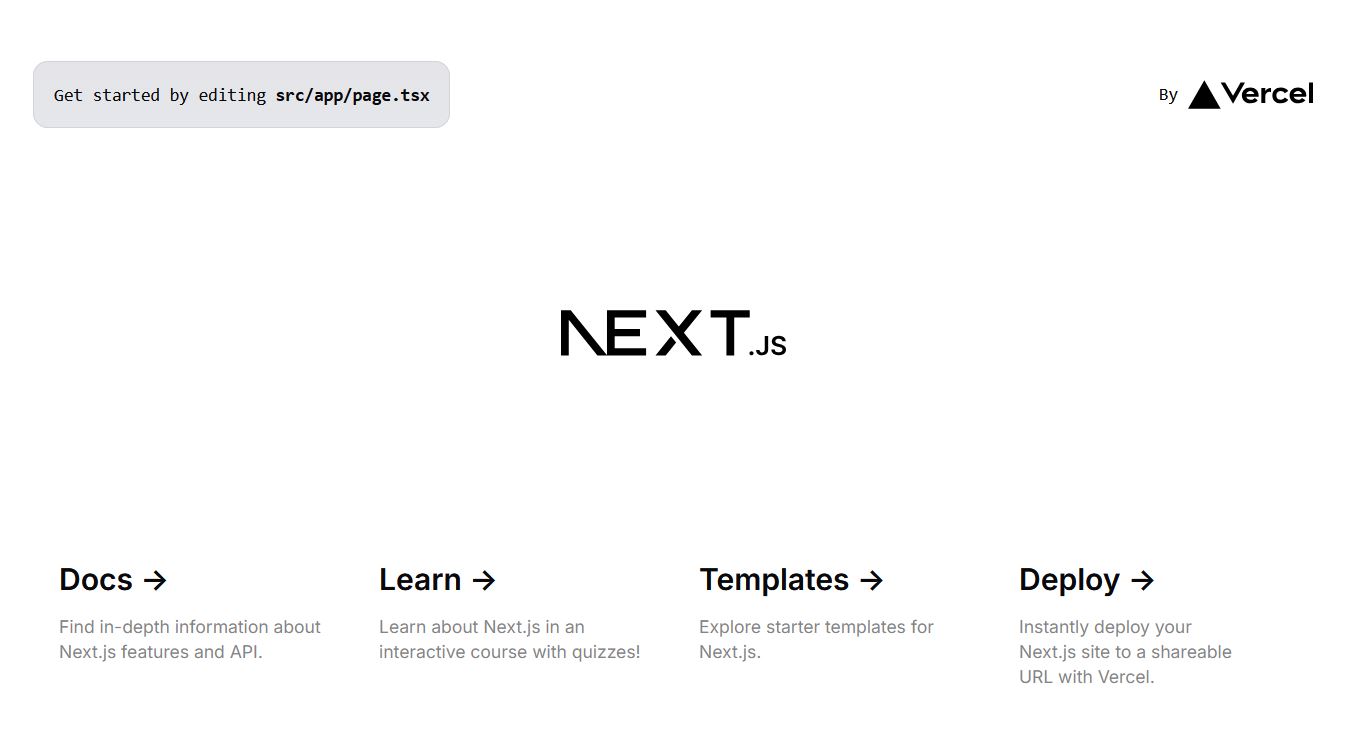
If so, you are good to go! 🚀